Apple ID Setup
STEP 1
- You will receive an email from Apple School Manager.
- Check your email inbox and open the email from Apple School Manager. This is your school-managed Apple ID and your Apple ID password.
- Note your email is a little different.
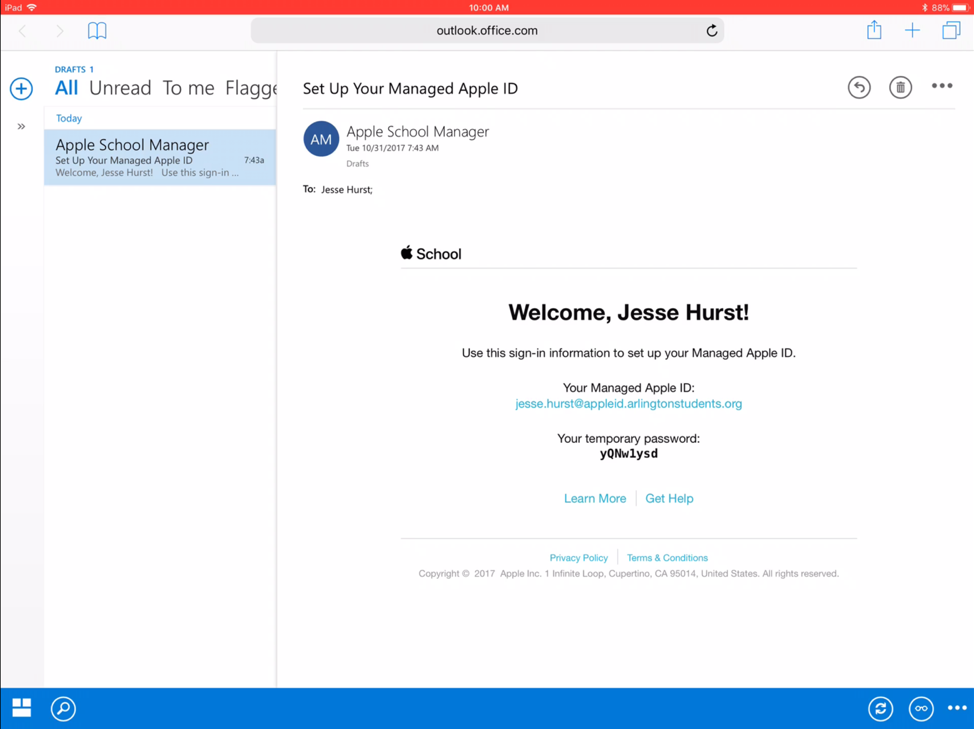
- Copy your Apple ID email, then open your settings app
STEP 2
- In settings, click on "Sign in to your iPad"
- This box will pop up.

- Copy and paste your Apple ID email into the "Apple ID" field.
- Go back to the email, and copy your Apple ID temp password.
- Go to settings, and enter your password into the "Password" field.
STEP 3
- You will need to enter/or paste your temp password again in the "Current" field.
- Then tab down to "New" and enter a new password of your choice (it may be a good idea to use the same password as your school email).
- Tab down to "Verifiy"
- Enter your new password again.

STEP 4
- Once finished, tap “next” or "change" in the top right of the window.

STEP 5
- This part doesn’t really matter. Either choice will do.

STEP 6
- You are all done and should see your name in the Settings.

***see attachment to download